


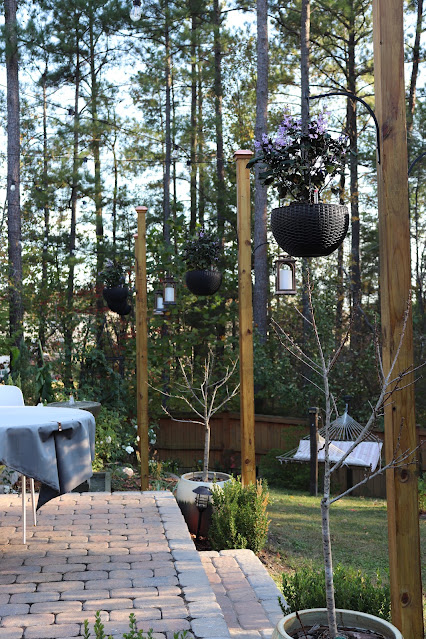
Here is look at our DIY Garden Posts.

Supplies for DIY Garden Posts:
- 4″x4″ pressure treated posts (at least 10′ long.) We used 16' posts because our yard slopes and we cut down to size them up evenly.
- Gravel (enough for a couple inches at the bottom of each hole to prevent the post from rotting)
- Quick-setting concrete (one 50-lb. bag for each hole; we used Quikrete Fast-Setting Concrete Mix in the red bag which is only around $6 per bag and sets in just 20-40 minutes)
- Respirator mask
- Post hole digger
- Post level
- 4×4 Post caps (these are the beautiful copper ones that I got from Amazon)
- Liquid Nails
- Screw-in hooks
- Zip ties
- String Lights (We Used 4 sets)

Optional Supplies:
- Shepard Hooks to hang baskets/lanterns/etc. We purchased ten.
- Hanging baskets
- Timer for string lights
- Lanterns
- Exterior stain (We used Cabot Wood Toned Stain and Sealer in Heartwood.)
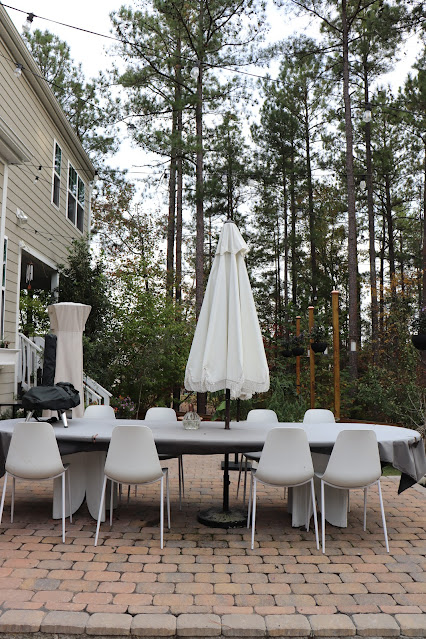
- Decide on your post placement.
- Dig holes with the post hole digger. Dig to a depth of at least 1/3 of your wood post and a diameter of about 10-12 inches. We used 16' posts so we had 5 feet underground.
- Cut your posts to proper height if needed. Our posts are all different lengths but level at the tops.
- Add a couple of inches of gravel to bottom of post hole. This will prevent the bottom of the post from sitting in water which can create rotting issues.
- Place post in post hole and make sure it’s square and level (use your post level.)
- Put on your respirator mask then add the Quikrete powder to the post hole. It’s best to add it slowly all the way around the post, otherwise the pressure of the concrete mix can shift the post out of position.
- Add water and mix with a stick. I think we added about one gallon of water per 50-lb bag. We really just jabbed it around for a little bit to let the water get down into the concrete powder. It’s really not a huge deal if you don’t mix it completely since the concrete powder will draw in water from the soil until it has just enough.
- Using your post level again, and double check to make sure the post has remained square and level throughout the previous two steps. You only have a few minutes where you can actually move it so be sure to do this right after you add the water!
- Repeat for each post hole, then let the posts set for 24 hours.
- 24 hours after your posts set, stain them. We used a long pole with a staining pad to reach the tops and make it go quickly. If your post caps have any un
- finished wood, you will want to stain them at this point as well.
- Add post caps. Liquid Nails adheres well.
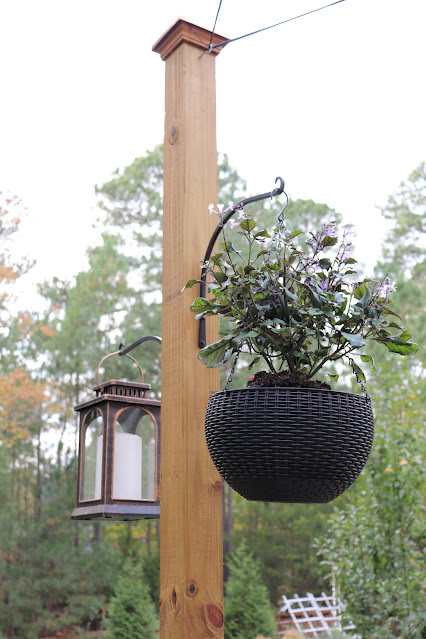
- Add hooks.
- First drill pilot holes, then screw in the hooks. The placement of the pots and lanterns lines up evenly at the bottoms.
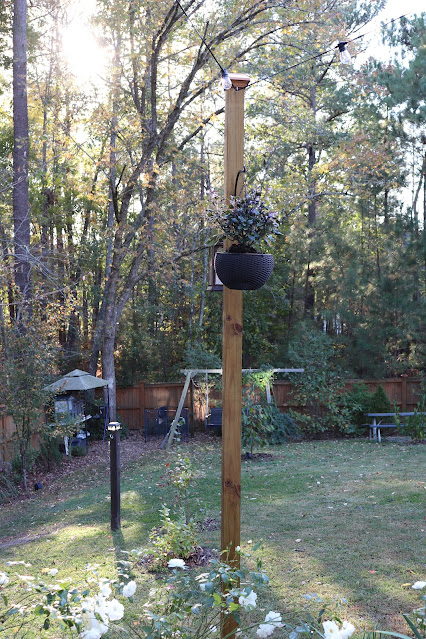
- Add string lights! I used a zip tie to attach the string lights to keep the line taut and prevent sagging. If connecting more than one string, fold the cords back on themselves and secure with zip ties to keep the spacing the same between all your lights.
- Install timer for lights. This is great to have so you never have to turn them on or off. They are great to have at Christmas as well.
Instructions for DIY Garden Posts:
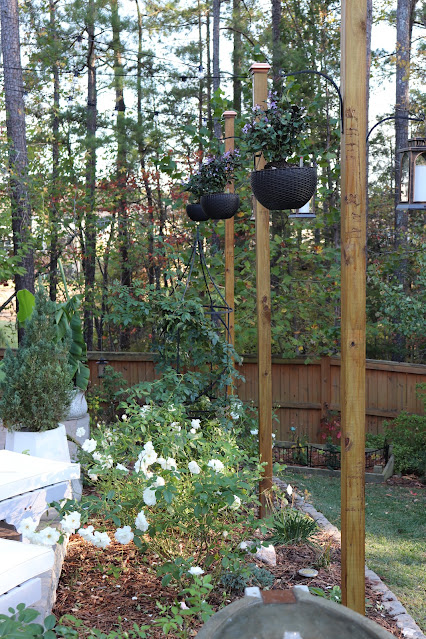
We just love the pots and lanterns on the posts. They really give the tall posts lots of character. I added pretty purple flowers called Plectranthus from Lowes. They are an annual so I will have to think of winter plants soon.


Now, off to enjoy the backyard at night. We've been seeing lot of different kinds of frogs lately. I think the pond we made is attracting them.

We hope this tutorial was helpful!
xo
Cathleen


No comments:
Post a Comment