


It's Smores' and cozy blanket season around here and I'm so happy I sprung for new Adirondack chairs from Highwood USA. Our old wooden chairs held up for about seven years, but these recycled plastic adirondack chairs should last for about 20 years. And hopefully they can be recycled again! I decided to go with white chairs to change it up a bit from the dark blue ones. I think they look very classic. The style chairs are called The Essential Adirondack Chair and can be found here. So far they seem very easy to clean and won't splinter or need repainting/sealing/staining at all.

The cozy fleece throws are from Pendleton.


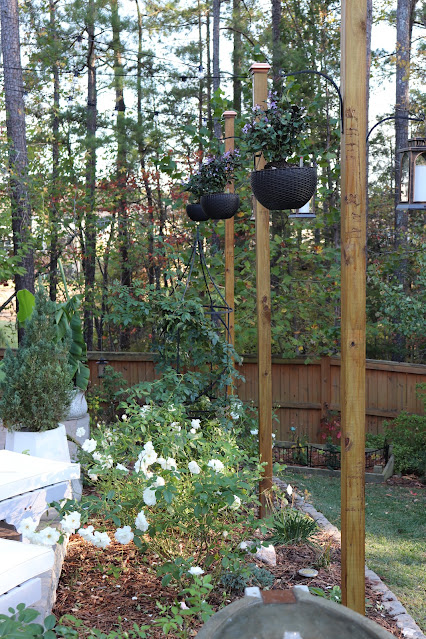
This photo shows the new pansies, petunias, broccoli, and cabbage that I recently planted. In November I will add tulip and Allium bulbs and in the Spring it will be gorgeous.


Our Breeo Smokeless Firepit is going on two years of use. It is developing a nice patina on the outside because we chose the X Series in Size 24 with a Corten Steel finish. We wanted it to look a little rustic and aged. We also bought the lid for the firepit that keeps it from rusting on the inside. The absolute best part of the firepit is that it's made right here in the U.S. of American Steel. Other similiar firepits like the Solo Stove come from China. We are very picky when it comes to where products are made.

Looking forward to many roasted marshmallows, ghost stories, and family time.

Happy Fall and almost Halloween!
Cathleen


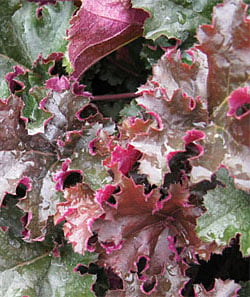 Chocolate Ruffles Heuchera
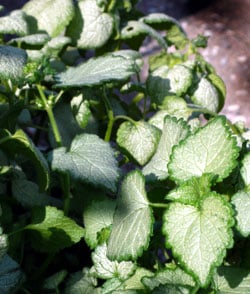 Lamium
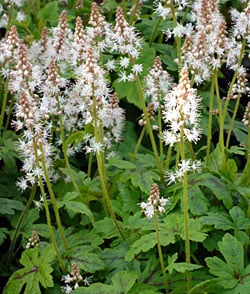 Tiarella
 Pulmonaria
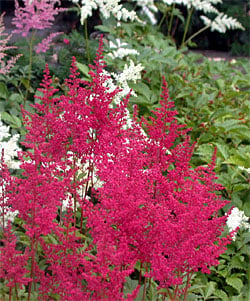
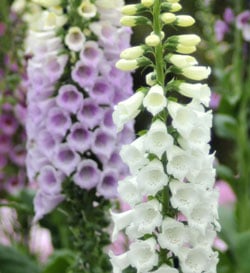 Foxglove
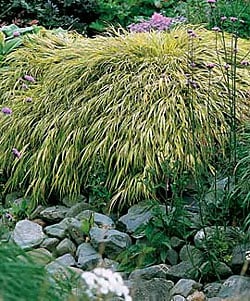 Japanese Forest Grass
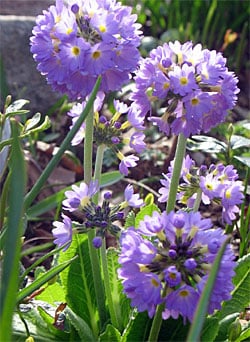 Primula
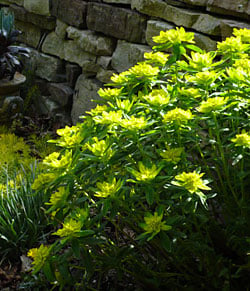 Euphorbia Polychroma


