
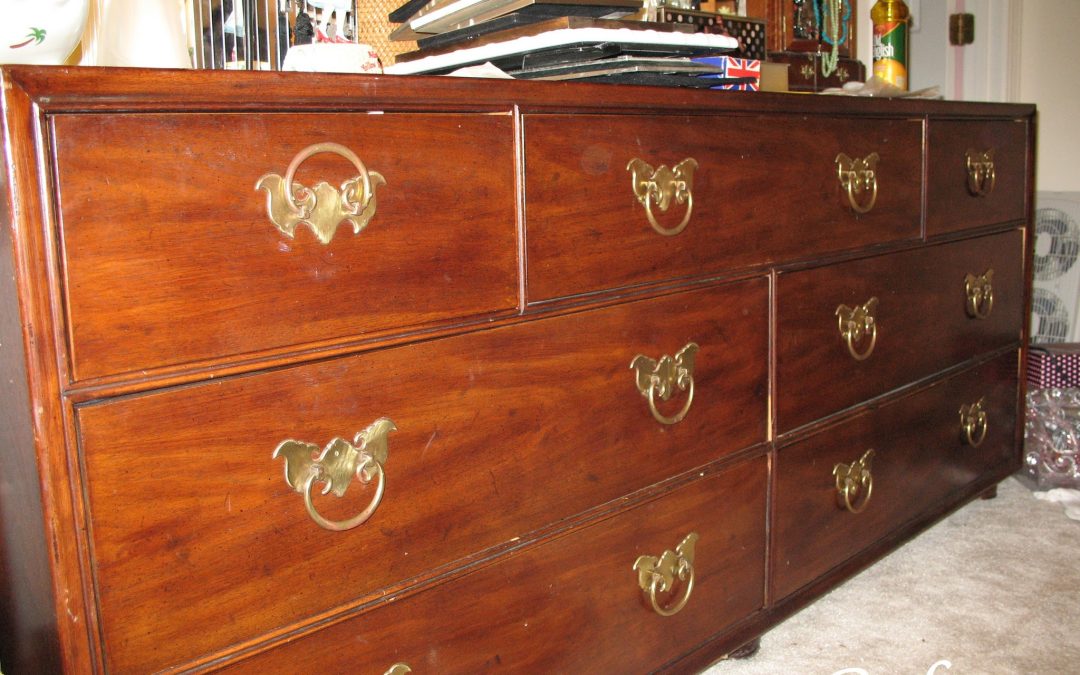
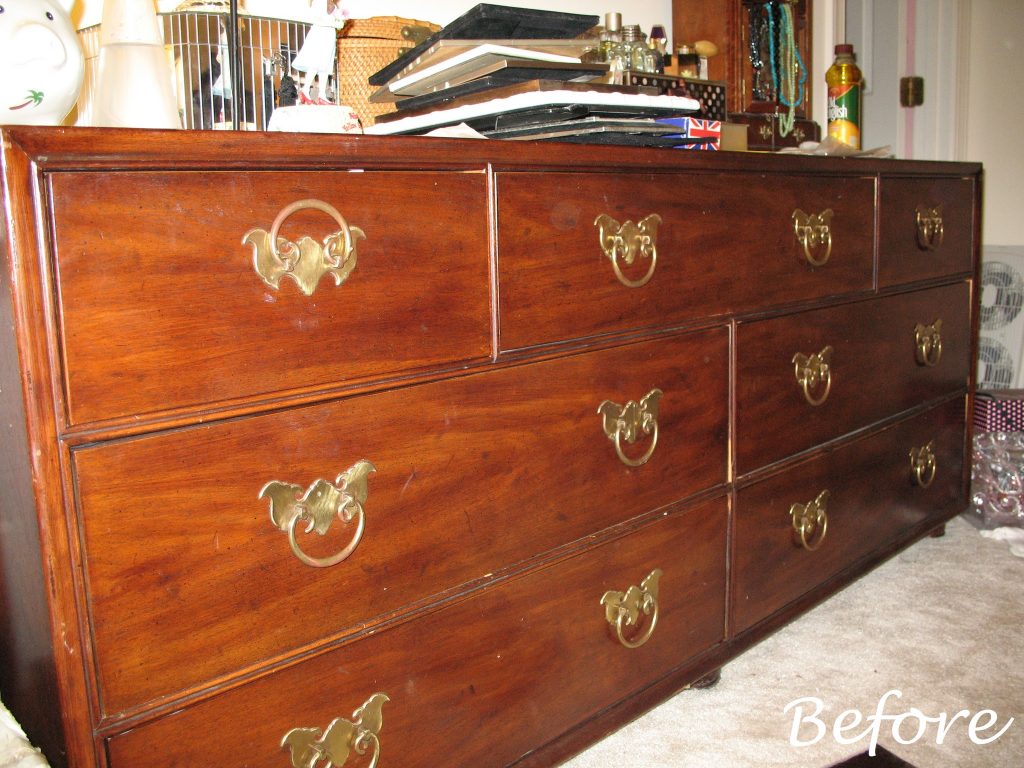
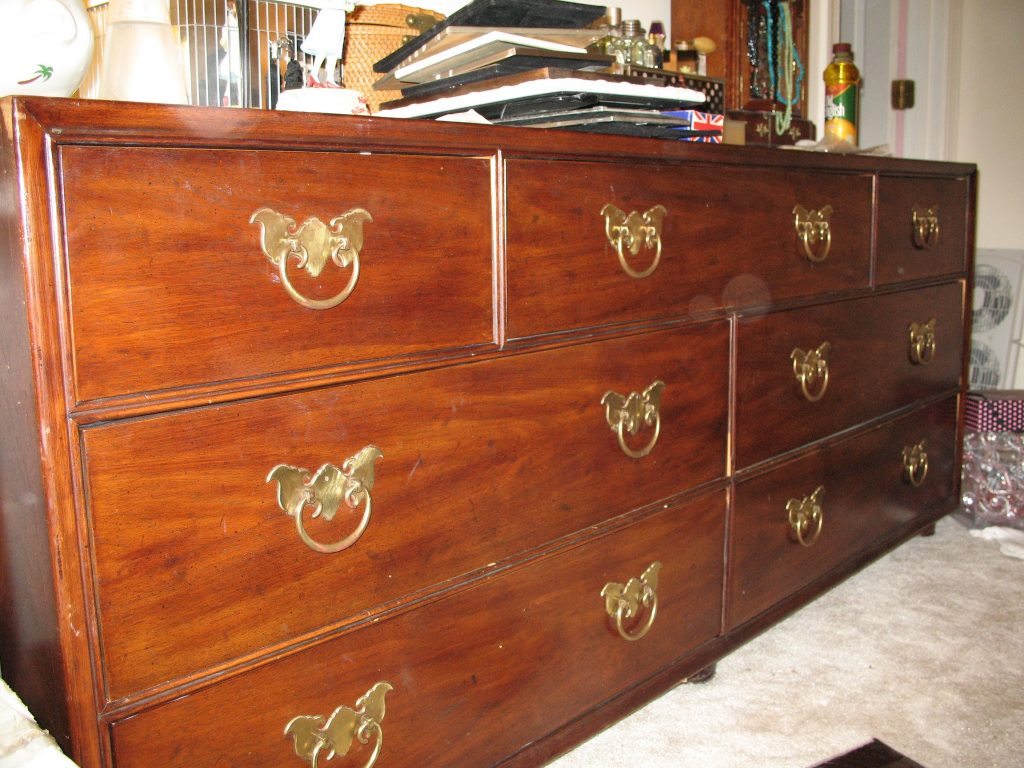
So outside it went and off to Lowes I went. I needed to pick up some supplies for refinishing it. The first thing on my list was a respirator mask. Every girl needs one in pink right? Secondly I needed belt sand paper in a 150 grit to remove the old stain with my belt sander. Then I needed to pick a stain or paint color. I decided to stain it because as you can see the drawers are snug in their opening and paint would prevent the drawers from closing. I also picked up a pair of eye wear, ear plugs, Minwax polycrylic, and a new paint brush.
Before I got to the sanding stage of this project, I first used a Deglosser to remove any greese and top coat. Then off to work I went, using my grandpa’s Craftsman belt sander to remove the finish. This process took me about 2 hours to complete. I used a block sander to get in the small grooves on the front and on the feet.
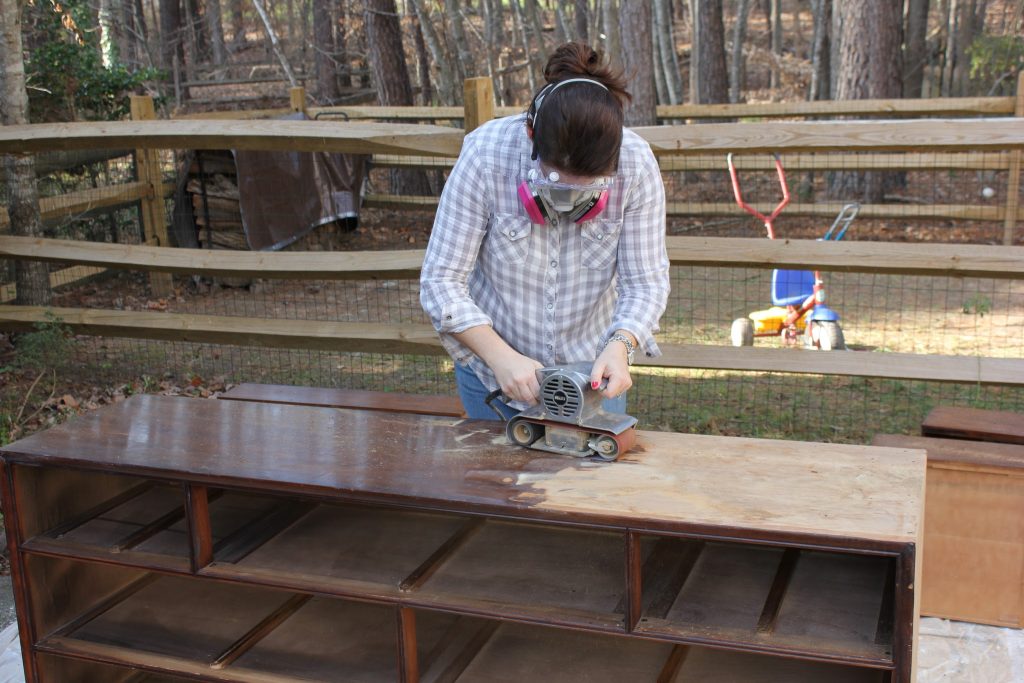
Once the dresser was sanded with 150 grit using the belt sander, I used a block sander with 220 grit to finely sand the surface so it was nice and smooth. I used tack cloth to remove all of the dust and then a wet rag to really clean it up. This whole process was enough work for one day. So I let it dry overnight. The next day it was time to stain. I picked Minwax Wood Finish Oil Based Stain in Ebony. Oh and you can get paint sticks for stirring the stain at the hardware store. I forgot to pick some up, so I used a screwdriver instead. I painted the stain on with a synthetic brush and then about 20 minutes later I used some old cloth diapers to wipe off the excess stain. You could also use some plain rags. I waited 8 hours to let the first coat of stain dry and then applied a second coat. You can choose to use one coat, but I wanted a really dark finish.
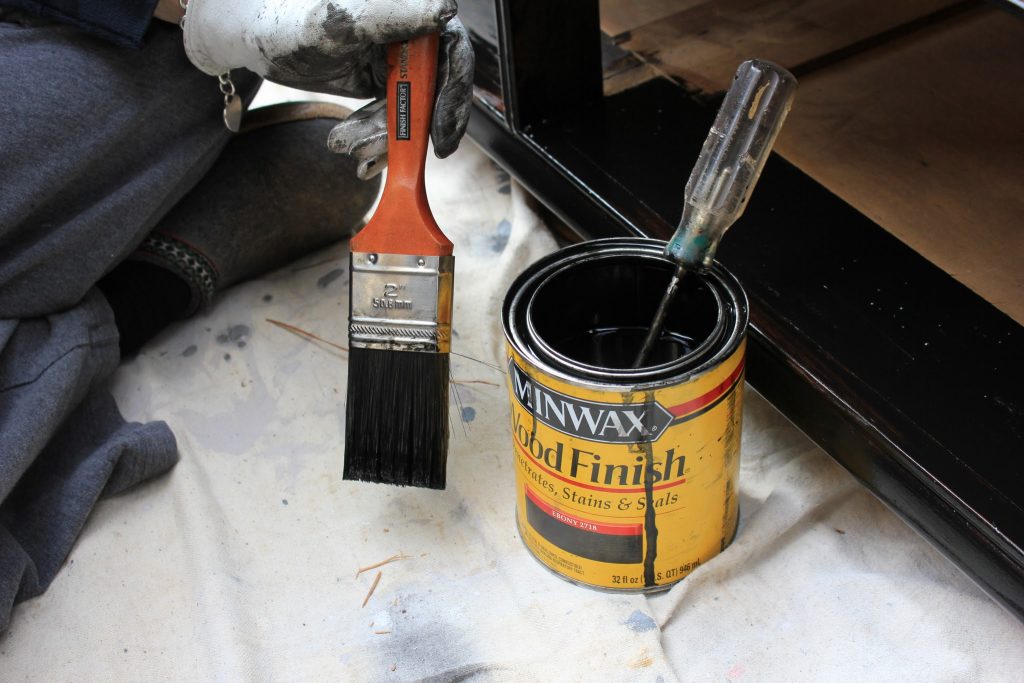
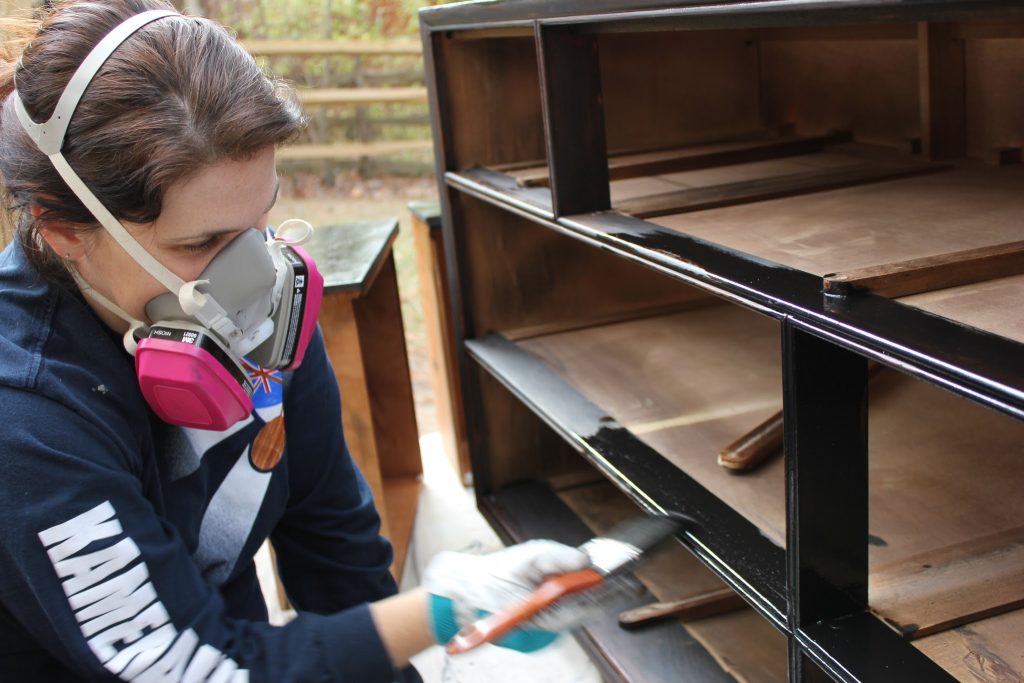
Here I am applying the stain with my brush. It’s a good idea to wear gloves as well when using an oil-based stain. This stuff is hard to get off (unless you want to douse your hands in mineral spirits, which is highly not recommended.)
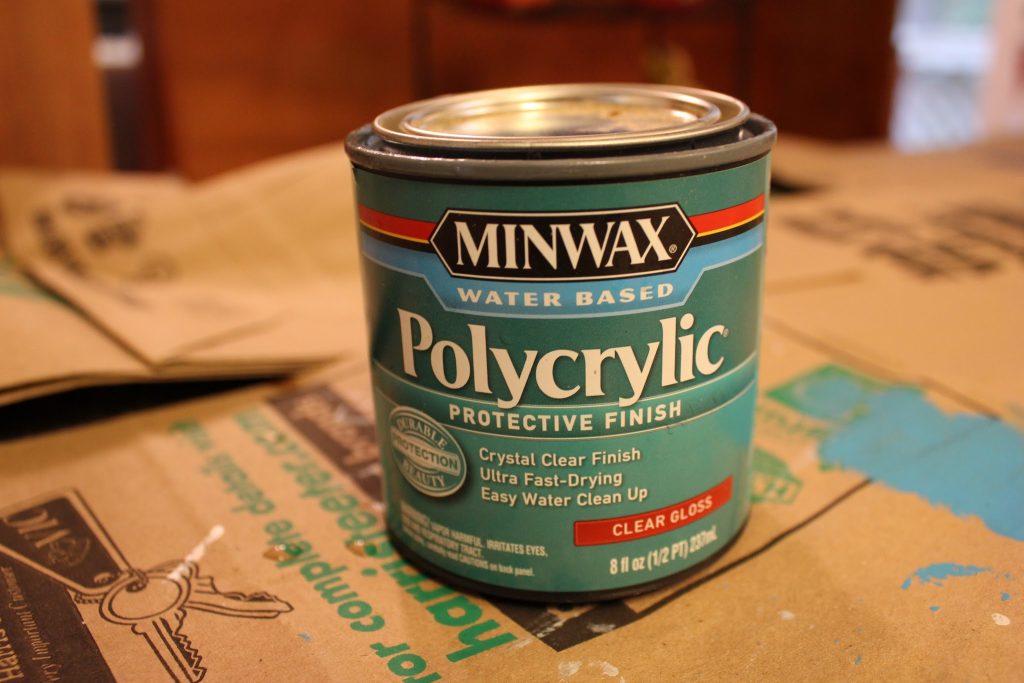
I used my favorite, Miniwax Polycrylic Protective finish in clear gloss.
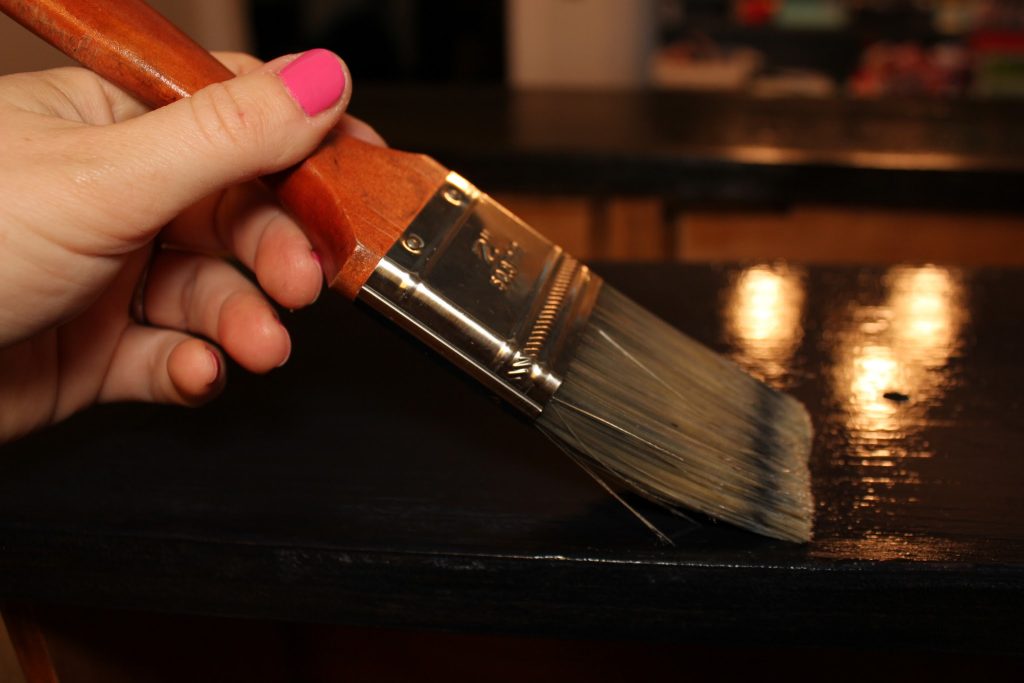
Here I am applying it with my synthetic brush in very thin coats. Three coats are recommended and you need to sand lightly with 220 grit sandpaper between coats. It takes only 2 hours to dry, so I was able to get all the coats on in a day. However, since I hadn’t stained the feet of the dresser yet, I needed to wait until the clear gloss finished drying thoroughly in a 24 hour time period in order to flip it on it’s side to stain the feet. I had to wait another 8 hours to apply the Miniwax, so yeah I was pretty tired by this point.
The boys were doing some brown painting of their own -except that I think CAP on the right just smeared some pudding on his face to look like MVP on the left, who just normally eats like that.

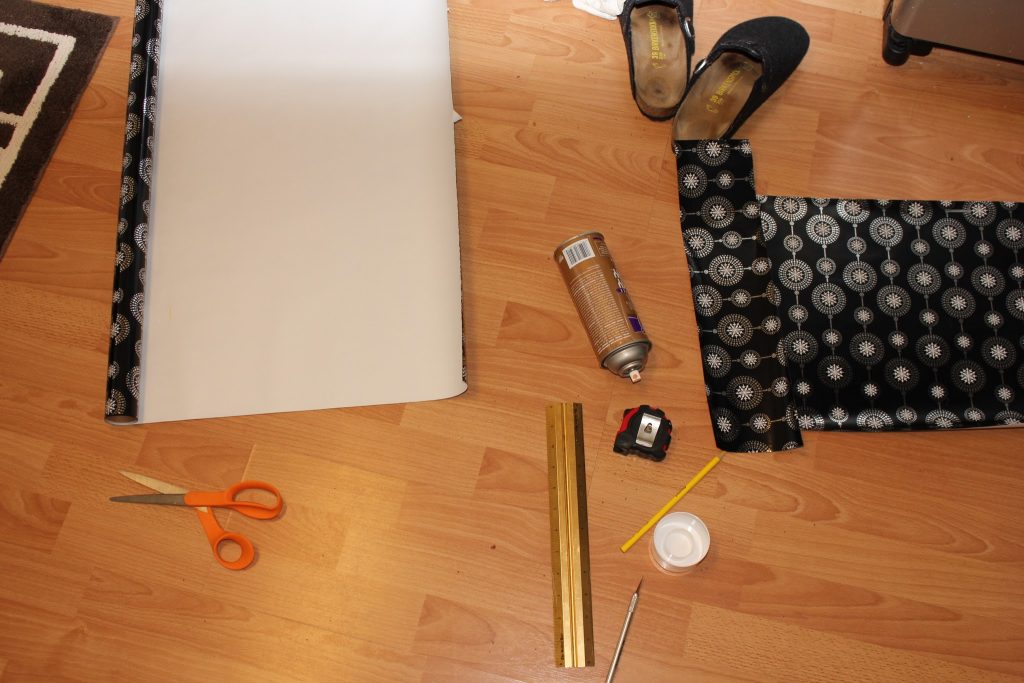
So back in the kitchen, while the feet of the dresser were drying I was able to get started on creating some drawer liners with velvet, ribbon, and gift wrap. Here are my supplies. Note, my shoes in the upper half of the photo. I was getting down and dirty with this part. Oh wait, this was the cleanest part of the project.
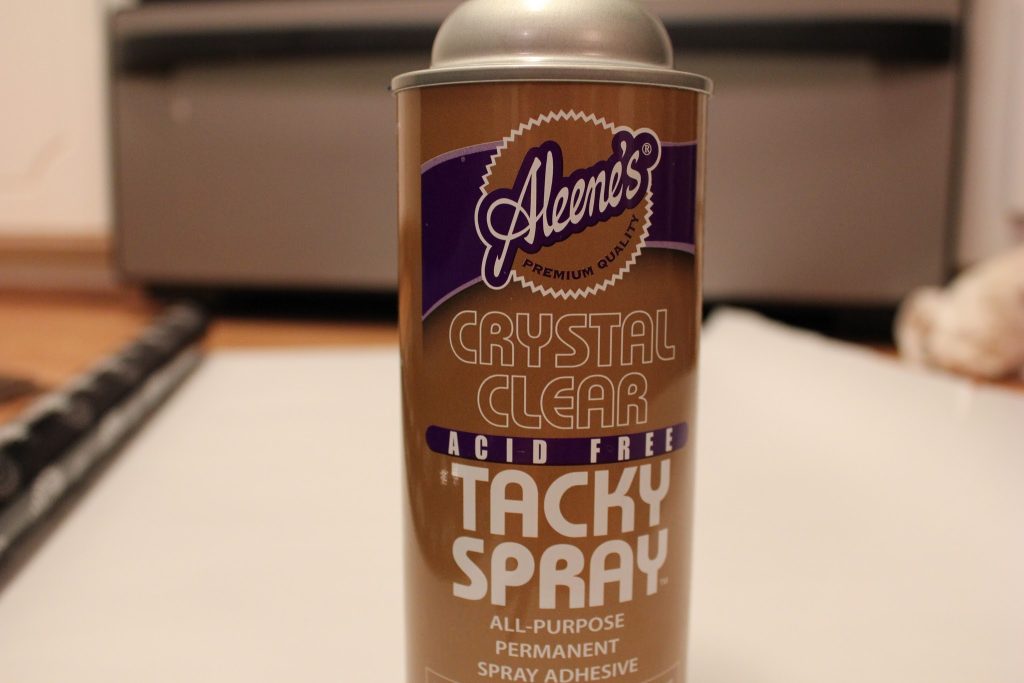
I measured all of the drawers with my measuring tape and then cut out my paper or velvet to size. I used Aleene’s Crystal Clear Acid Free Tacky Spray to attach the liner to the drawer. You can also use double sided tape, which is probably better if you ever want to remove your liner easily. Oh well.
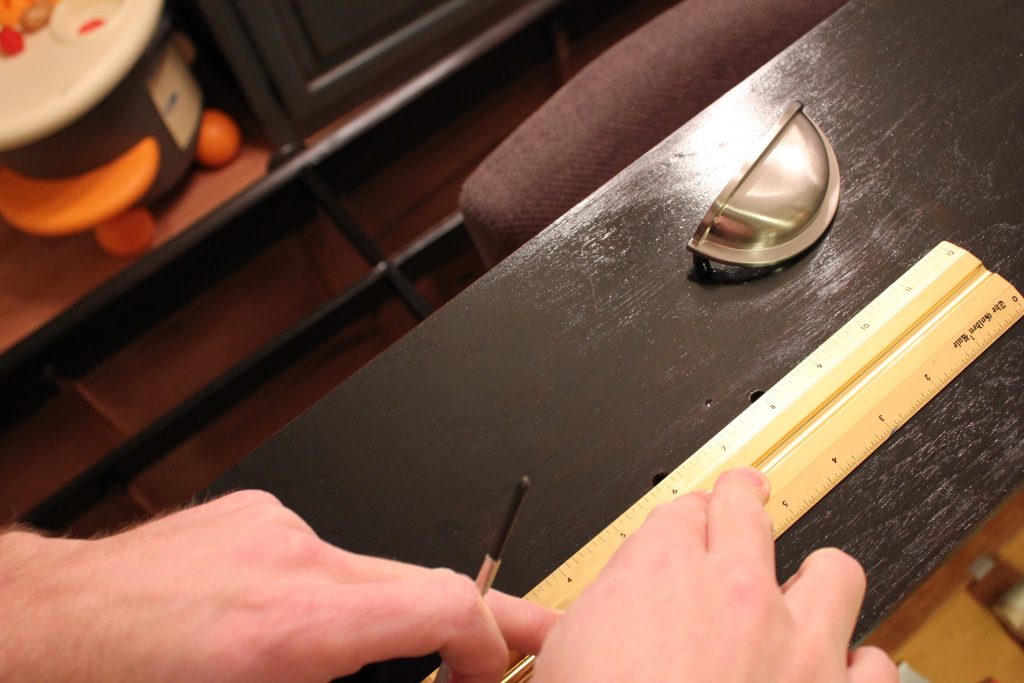
While I measured, cut, and glued my liner in place, Joe was busy measuring where to drill holes for the new hardware. The original hardware had 2″ spacing between the screws. I had a very difficult time finding this size hardware anyway, so I opted for bin pulls that were 3″ in diameter. These were from an online company called KnobsandHardware and the specific style is called Berenson 938. I had to order 12 total. Shipping was free which is always nice. So Joe measured 1/2″ from the original holes and made a mark on where to drill.
Another issue that arose, was the depth of the piece that is inserted through the drawer. These truly were bin pulls for kitchen cabinets because they were the same width as our cabinets. So Joe had to do another Lowes run to buy screws that would fit. Apparently the size he bought still needed to be cut down, so Joe used some metal cutters to clip them shorter. We also used washers we already had to go between the screw and the inside of the drawers.
Now it was time to drill the holes for the hardware. I tried it, but needed to go do the dishes and clean up the house.
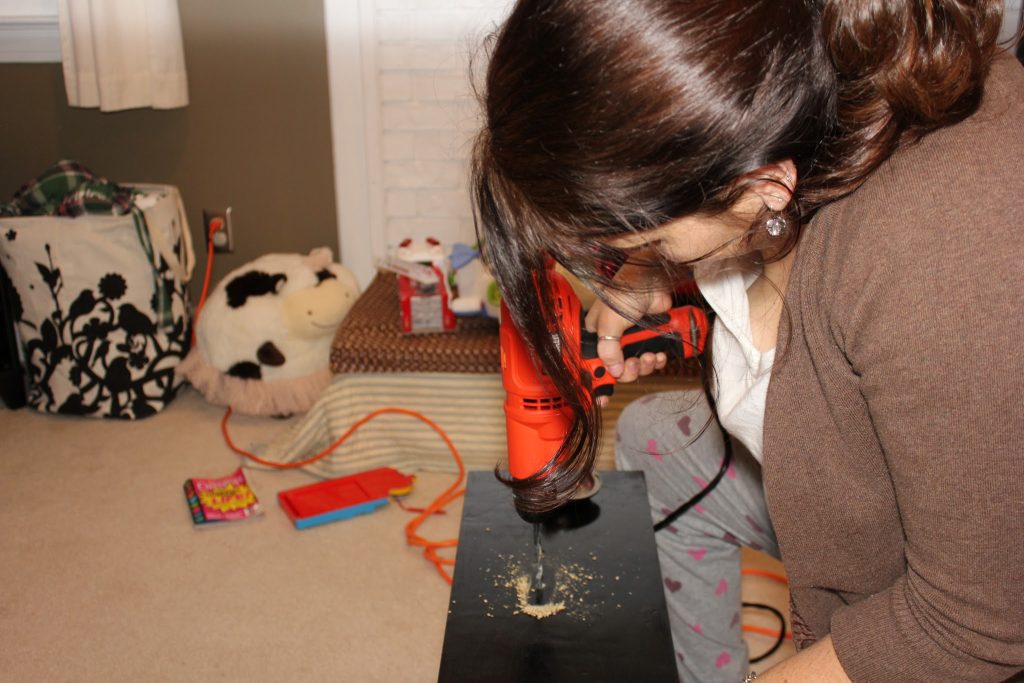
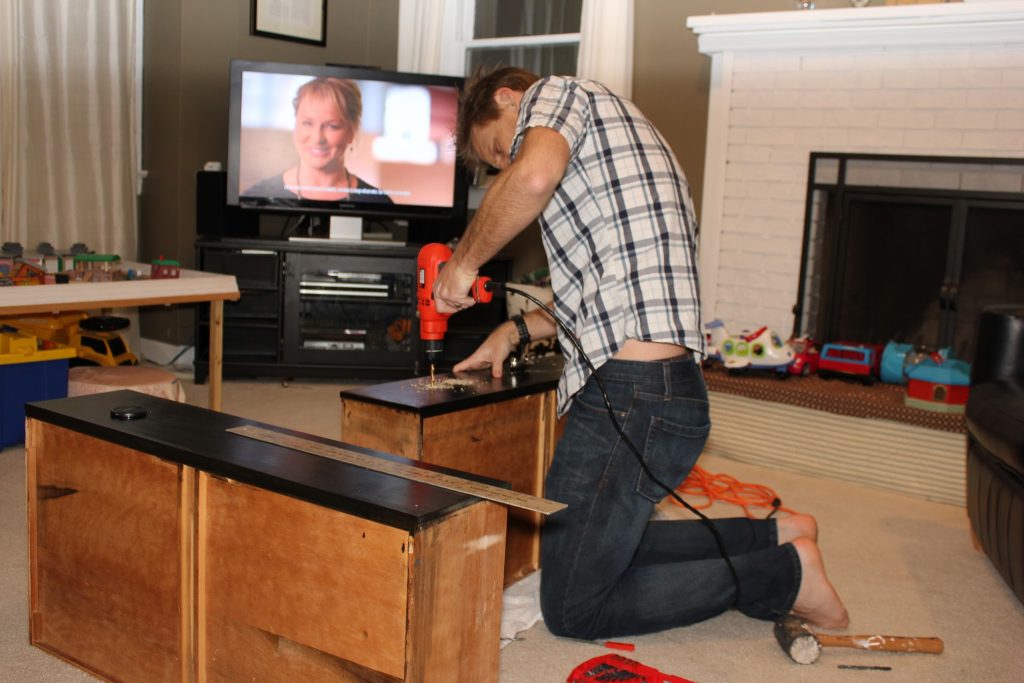
Joe took over. After I cleaned up, we were watching our favorite Thursday night shows, Parks and Rec, The Office, 30 Rock, and sadly Community was not on. But Up all Night is pretty good too.
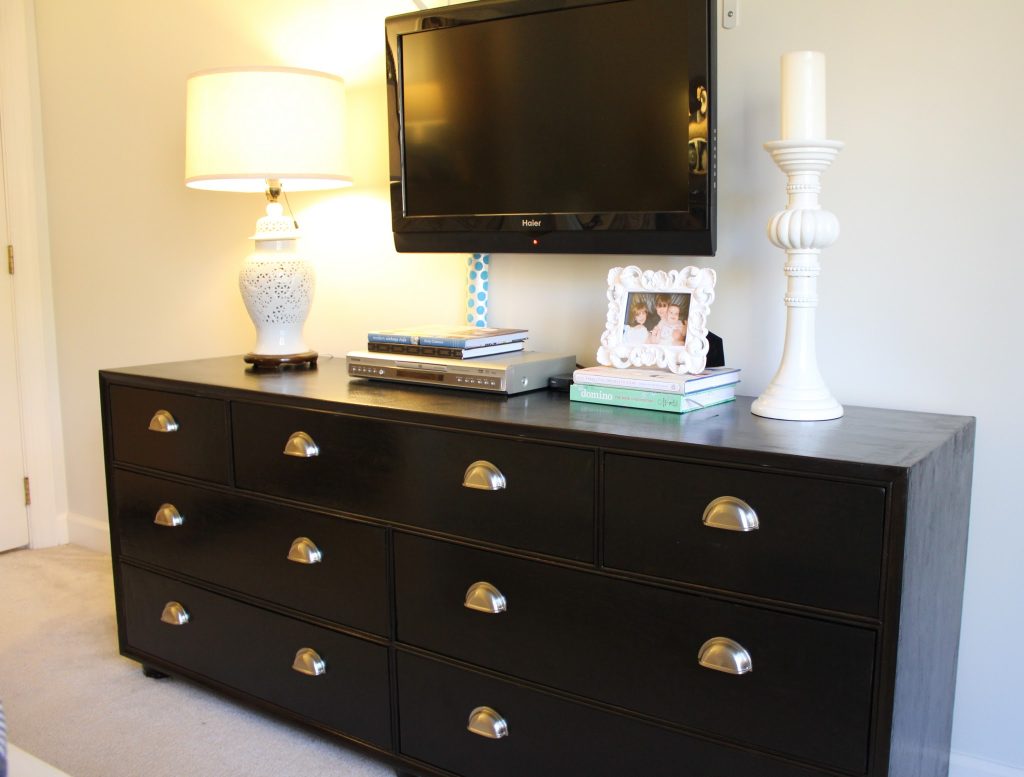
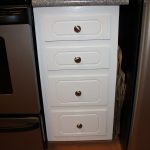
After all the drawer pulls were in, we got to set it up the next morning. Ah, and here is the glorious after photo. We Love it.
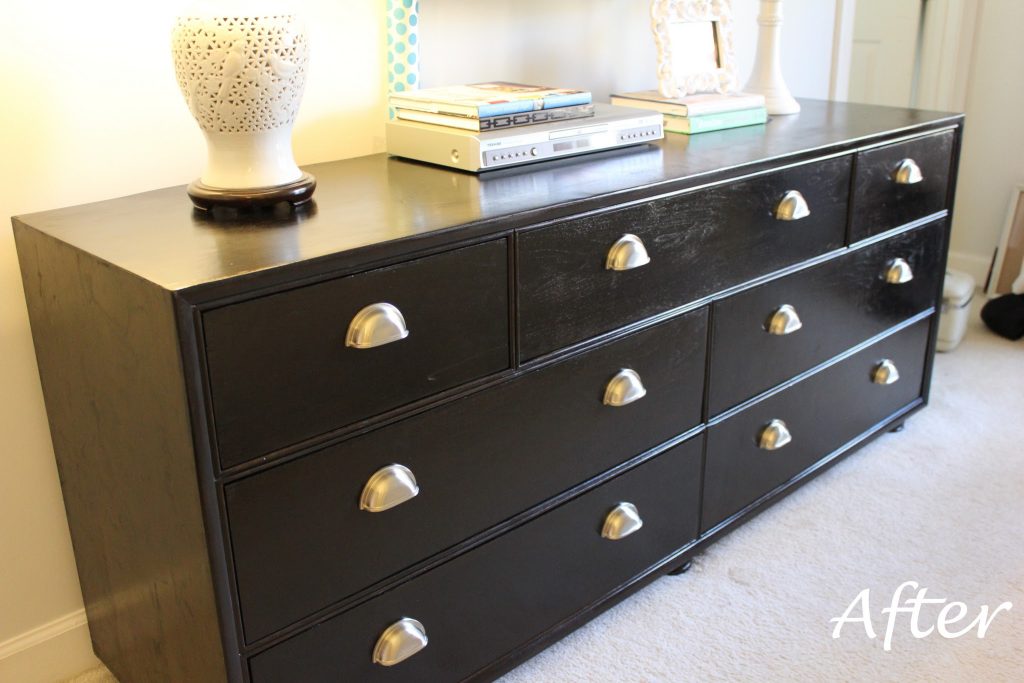
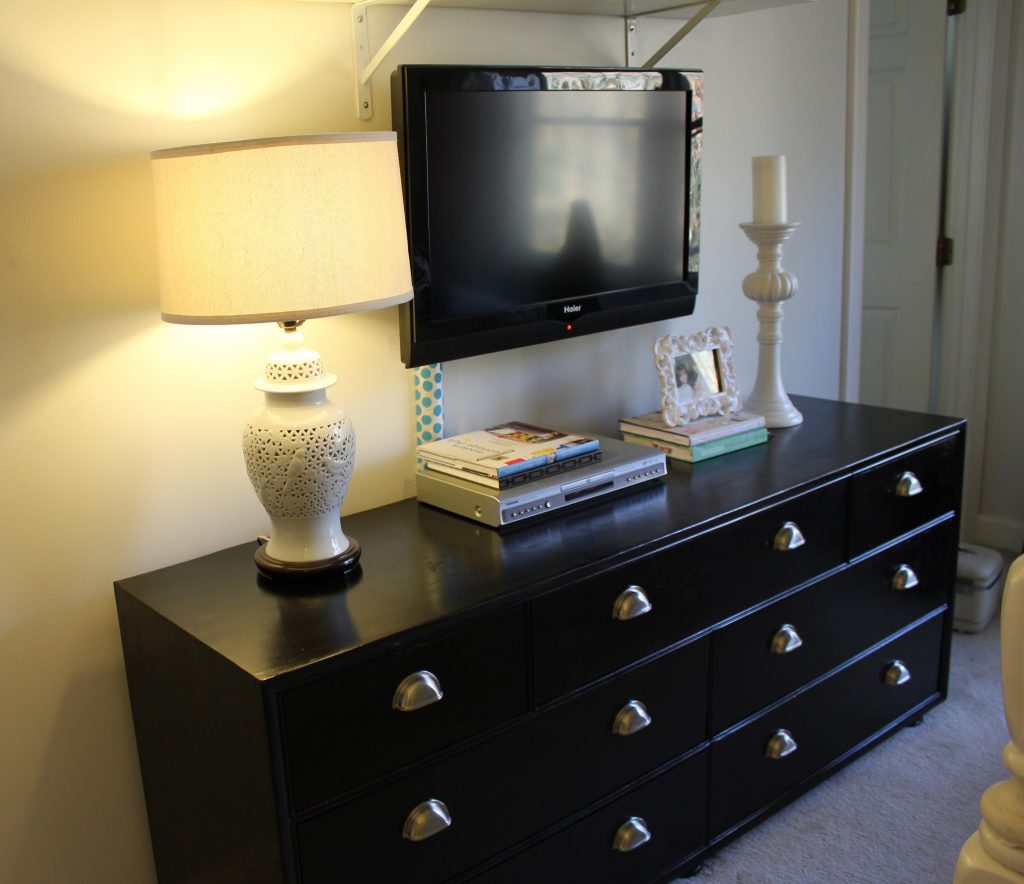
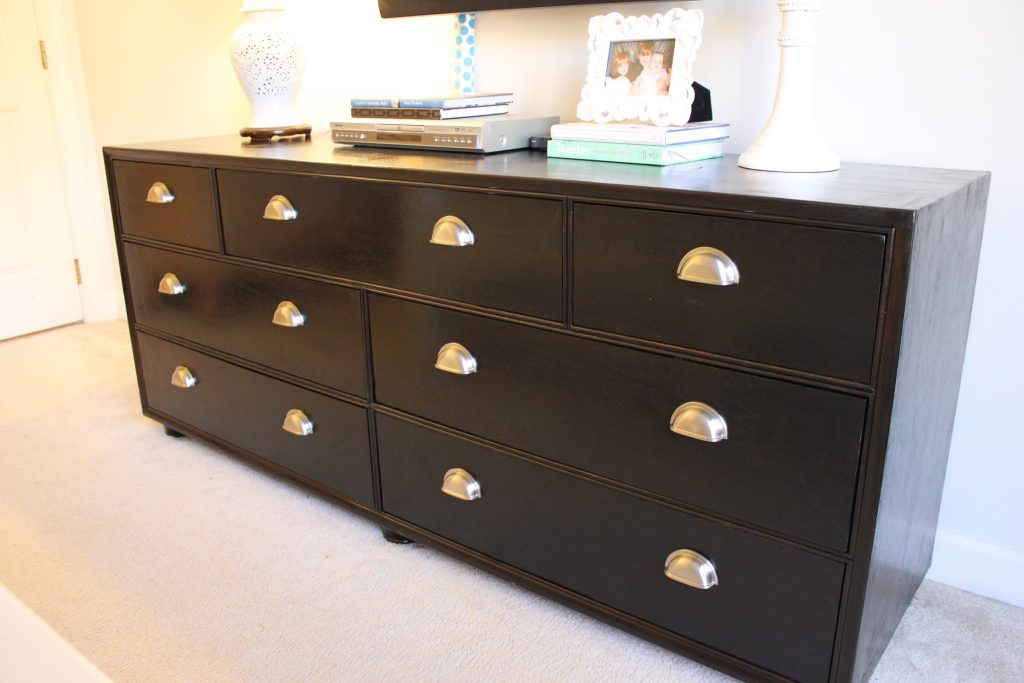
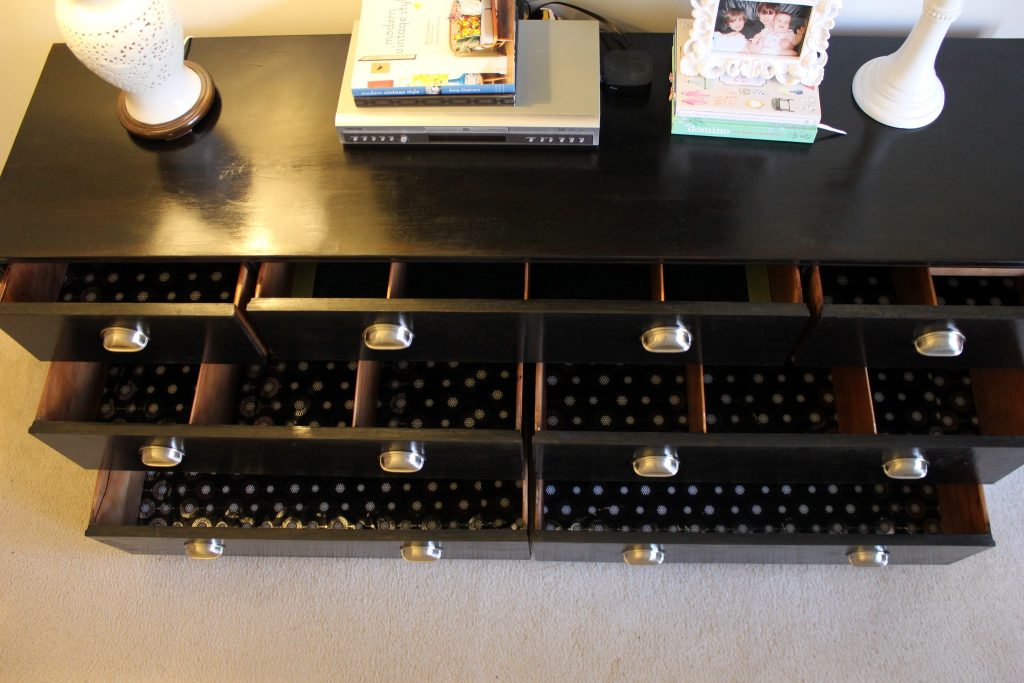
I bet you’re wondering how I got this shot! I stood on the edge of my bed so you could see the cute drawer liners.
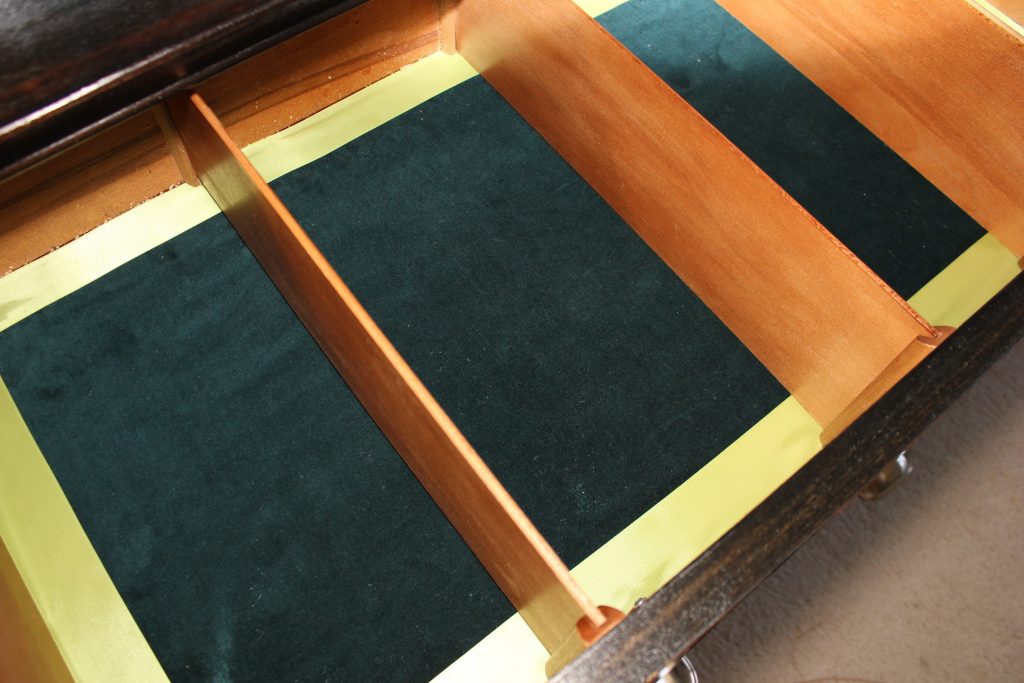
Here is my sock drawer so you can get a closer look at that paper.
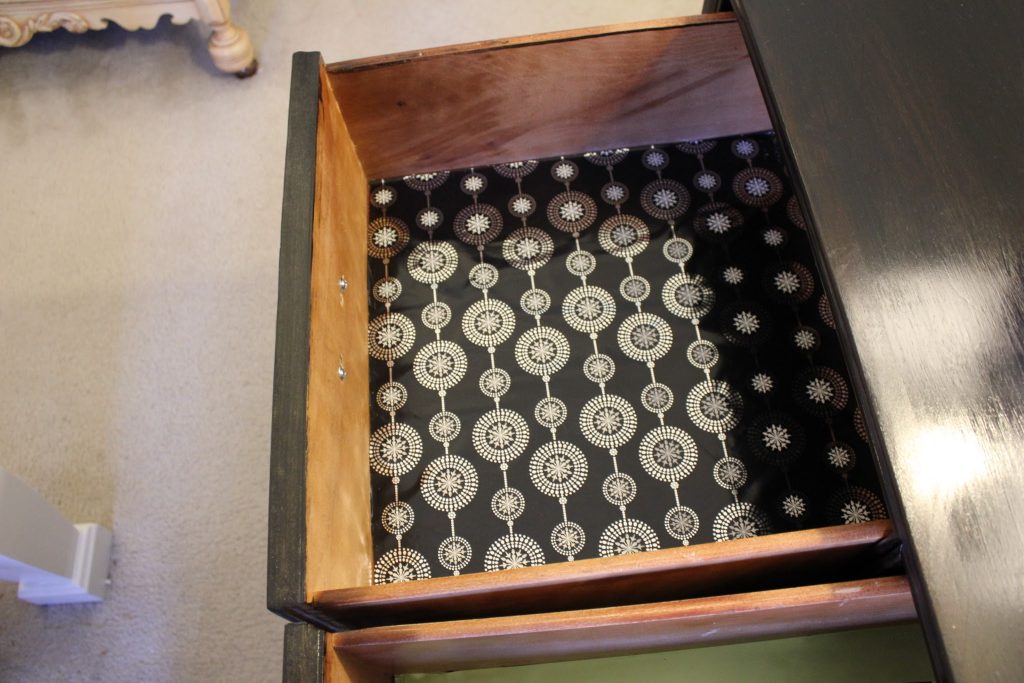
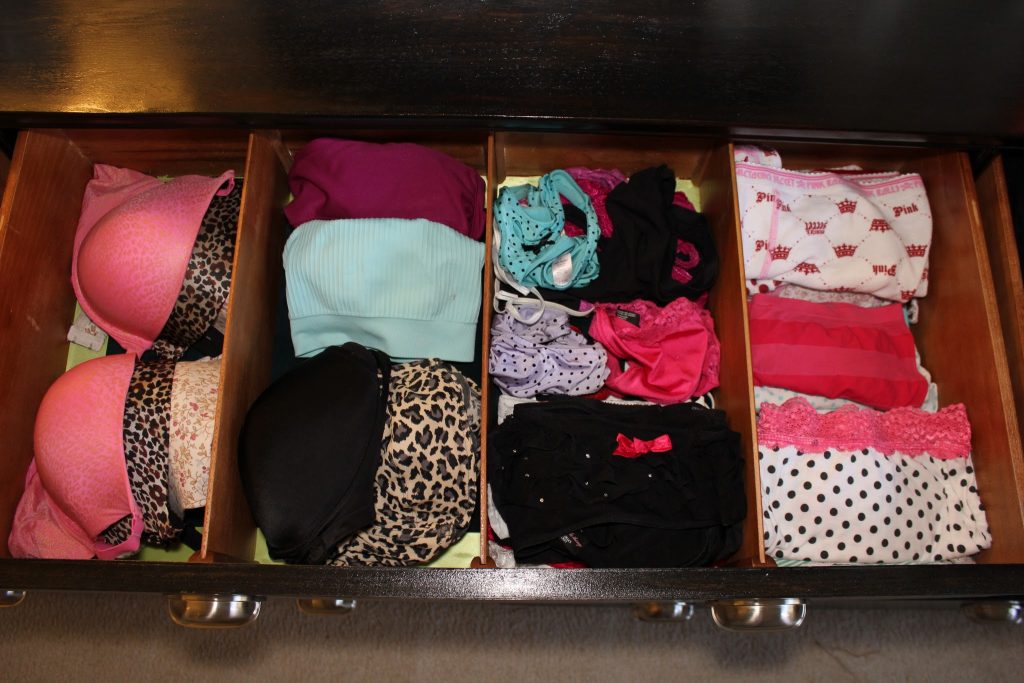
And I know everyone wants to peak in my underwear drawer so here it is all neatly folded! For a girl who likes power tools, it seems like I have too much pink in there!









So I am dreaming up this new TV Show, kinda like a interior finishing project akin to This Old House where you star as the hostess and hands-on design professional. Any producers out there?
BTW- If I heard your grandma say it once I heard her a hundred times: "Just need a little elbow grease" !
Excellent and Inspiring job Cathleen. Very proud of you and Joe for your creativity and industriousness (is that a word?) !
Haha Thanks Mom. You always make me blush. I would give anything to make something out of this blog. Who knows? Maybe some day.
Ah, Grandma. I just finished a blog post and mention her in it.
Now-what can I refinish next?? Gotta get my hands on some turpentine and Linseed oil. 🙂